Social media has become one of the most powerful tools for real estate marketing. From Instagram to Facebook to LinkedIn, stunning property photos can stop someone mid-scroll and turn a casual browser into a serious buyer. But not all posts perform equally — how you use your images online matters just as much as the photos themselves.
In this post, we’ll cover the best practices for using real estate photography on social media so your listings get noticed, shared, and remembered.
1. Choose Eye-Catching Images First
When it comes to social media, first impressions happen fast.
Your audience decides within seconds whether to stop and engage — so choose your most striking image as the main post photo.
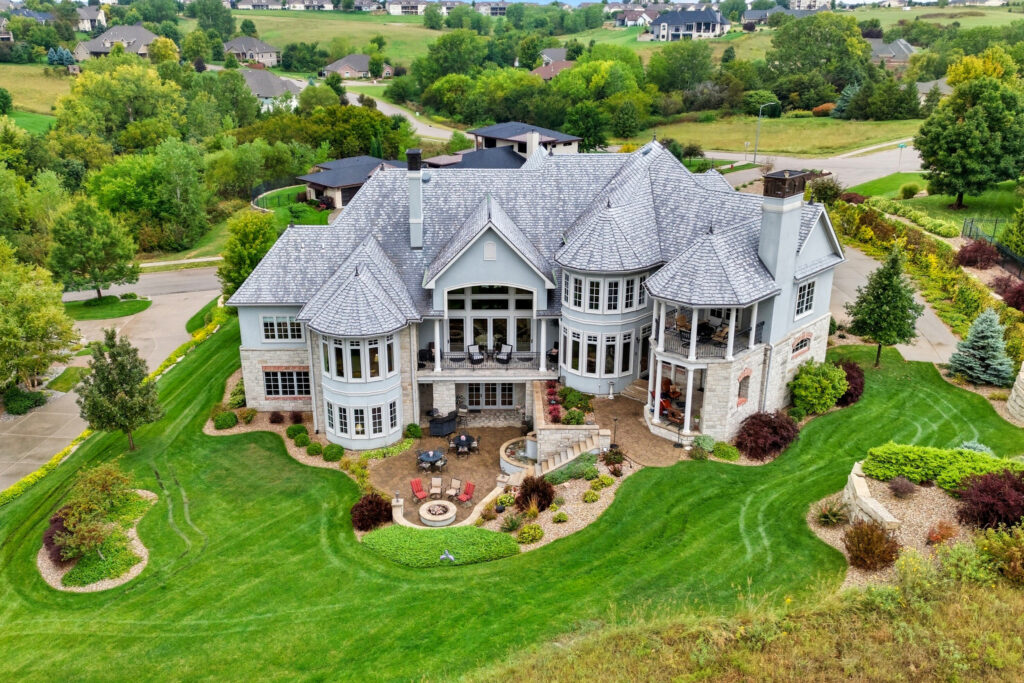
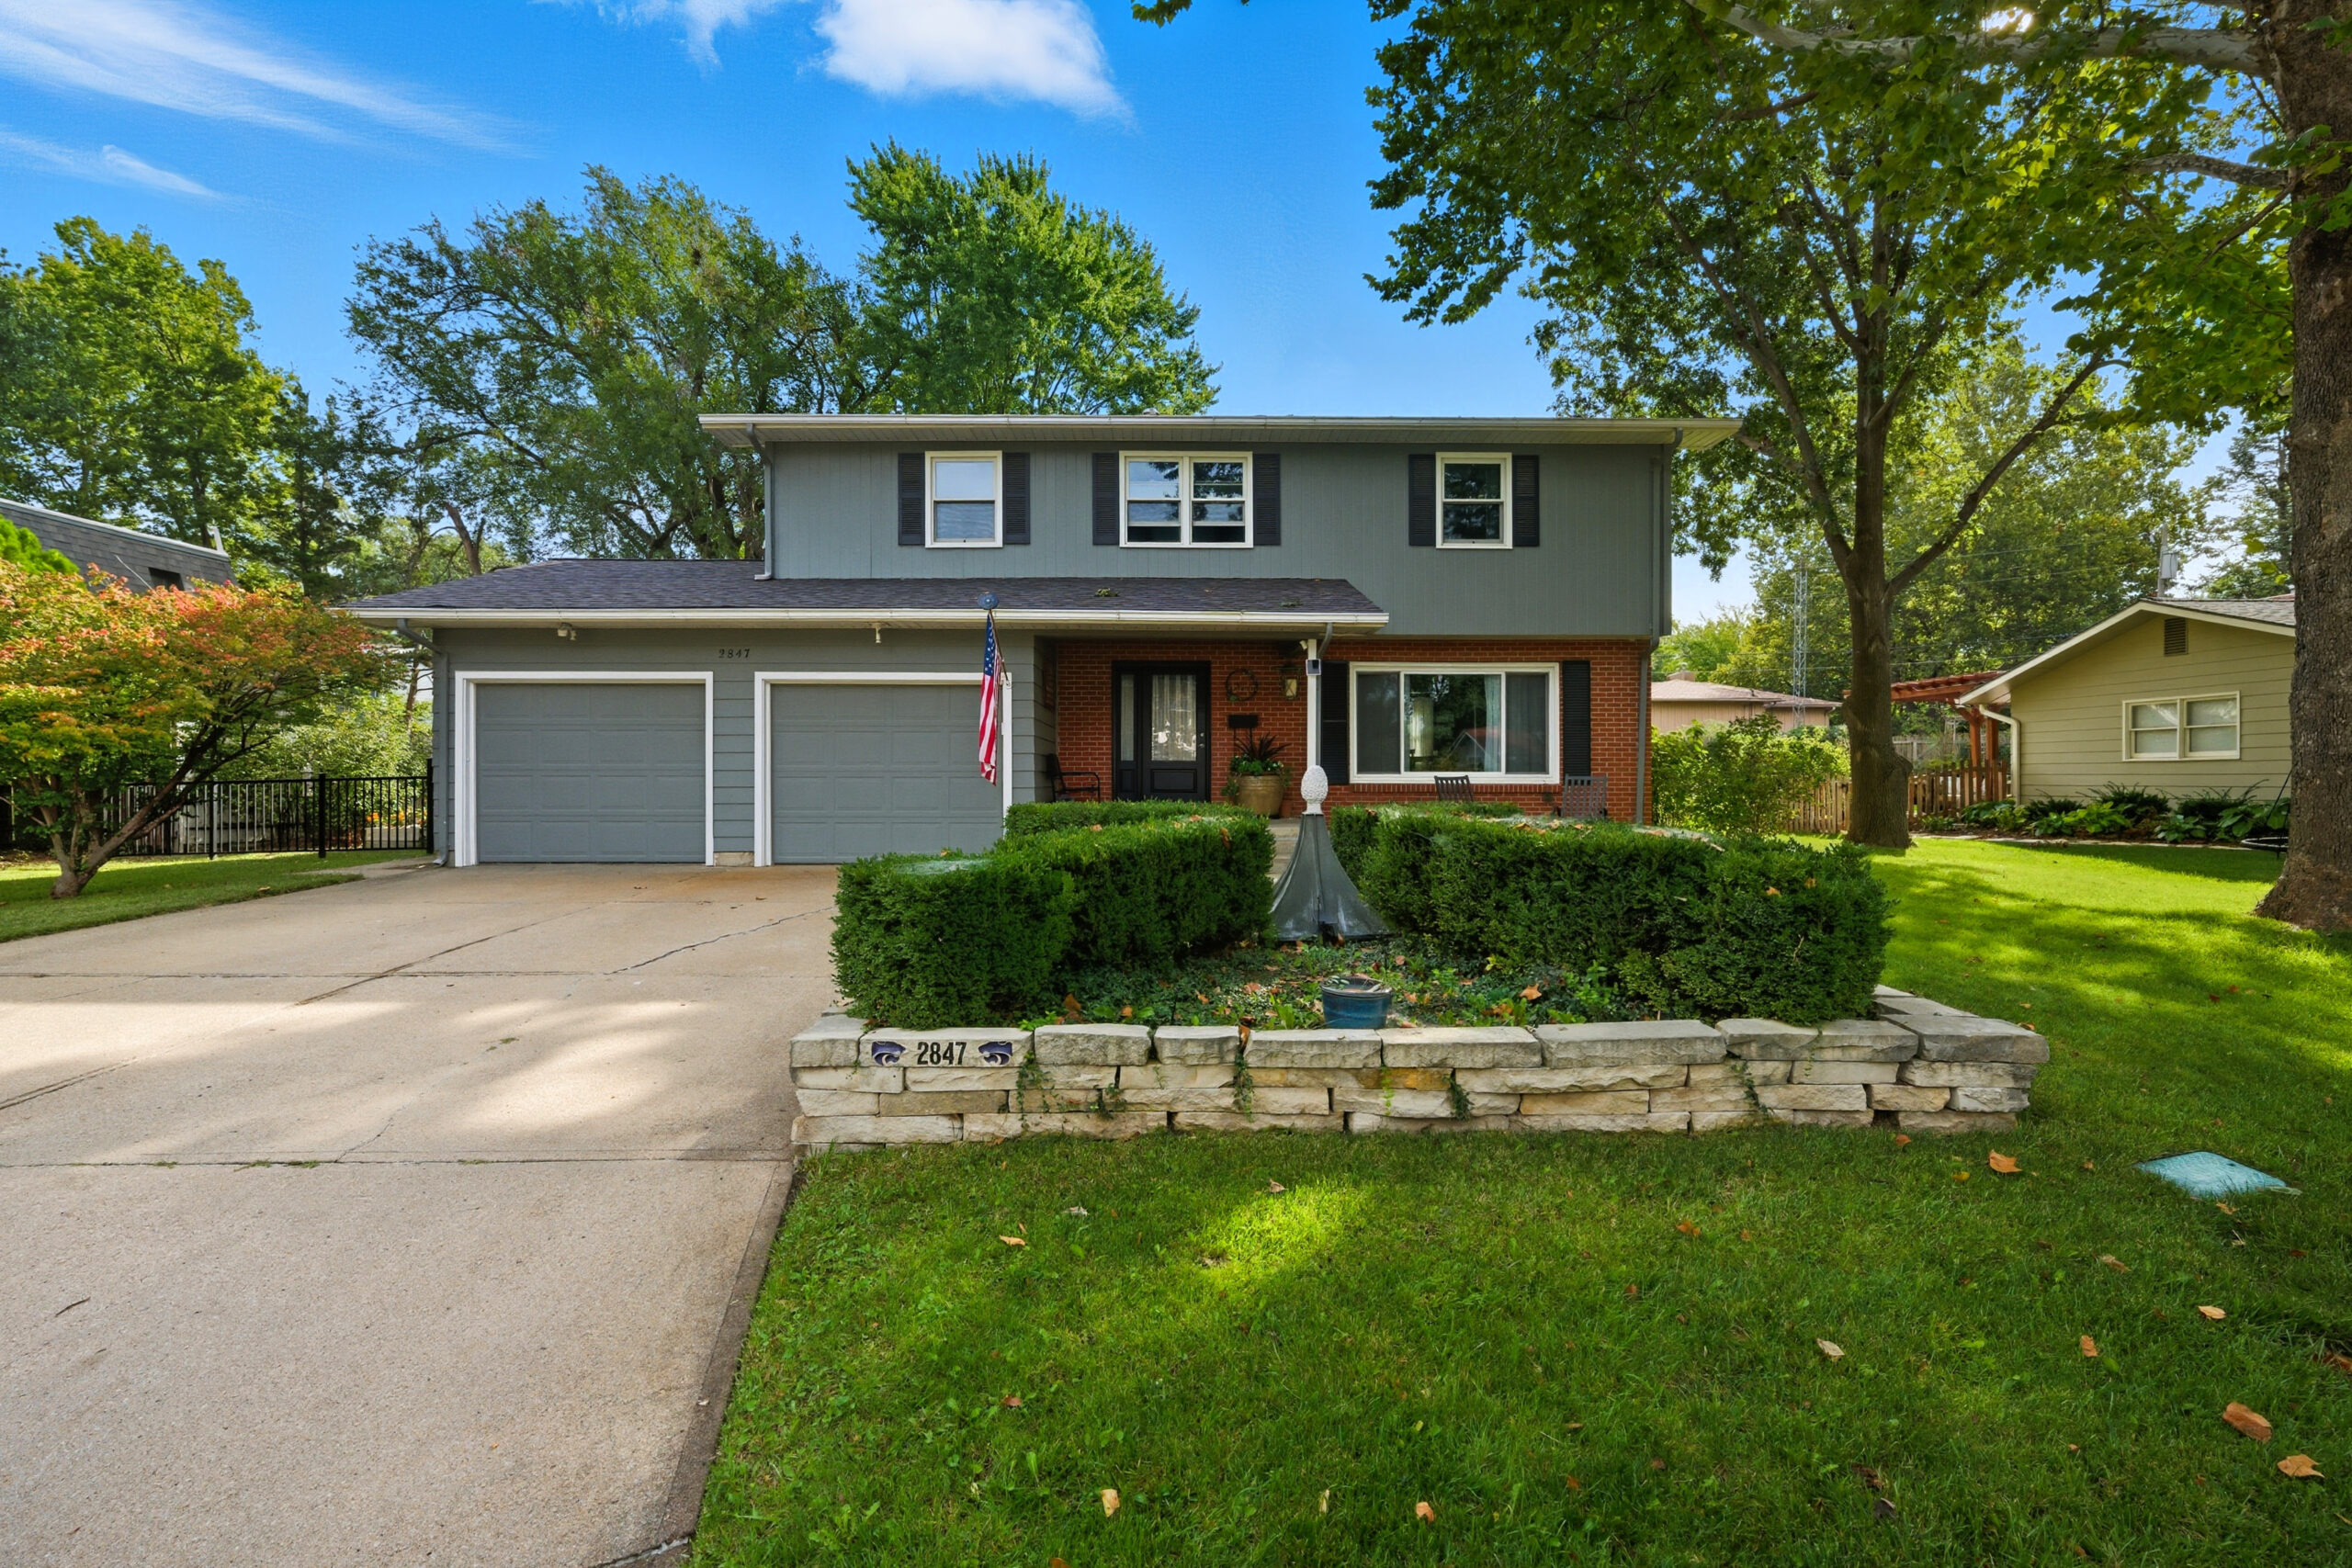
- Exterior twilight shots often perform best — they look polished and inviting.
- Kitchen and living room photos also draw attention because buyers love imagining themselves there.
- Use wide, well-lit shots that tell a story at a glance.
👉 Tip: Keep the clutter out! Clean lines and symmetry make images stand out in busy feeds.
2. Optimize for Each Platform
Different social media platforms favor different formats and ratios. Uploading the right size helps your images look crisp and professional.
- Instagram: 4:5 vertical or square photos work best for feed posts.
- Facebook: Horizontal (16:9) photos are ideal for link posts.
- Stories & Reels: Vertical (9:16) images or short videos catch the eye.
- LinkedIn: Square or landscape photos look clean and polished.
3. Tell a Visual Story
Instead of dumping an album of random shots, sequence your photos to take viewers on a mini home tour.
For example:
- Exterior front shot
- Entryway
- Kitchen and living space
- Bedrooms and baths
- Backyard or outdoor space
Pair each image with a short caption describing what makes that area special — cozy, modern, bright, spacious, etc.
This keeps your audience scrolling and increases engagement time.

4. Add Captions That Sell (Not Just Describe)
Captions are your chance to add emotion and context to your photos. Instead of just “Beautiful kitchen,” try something that paints a picture:
“Morning coffee with sunlight streaming through these large kitchen windows ☕✨”
Include calls to action like:
- “Tag someone who’d love this space!”
- “Schedule your showing today — link in bio.”
- “Want photos like this for your next listing? Send me a DM.”
5. Use Consistent Branding
If you’re a real estate agent or team, your social media feed should look consistent — same editing style, watermark placement, and tone.
If you’re a real estate photographer, this helps build recognition for your work and makes your feed look cohesive.
💡 Tip: Use a subtle watermark or logo in a corner (not distracting from the photo).
6. Post Regularly — and Reuse Content Smartly
Don’t let your photos sit in a hard drive after a listing sells!
Re-share past properties with captions like:
“Still one of my favorite kitchens this year. Would you love to cook here?”
Consistency keeps your feed alive and shows ongoing activity, which builds trust and credibility.
7. Tag and Collaborate
Tag the listing agent, stager, builder, or designer in your posts. Collaboration expands your reach — their followers see your work too.
You can also geotag neighborhoods or cities to attract local buyers and agents searching by area.
8. Track What Works
Pay attention to which photos and captions get the most likes, comments, or shares. Patterns will emerge:
- Certain angles or rooms perform best.
- Posts at specific times get more engagement.
- Videos or carousels might outperform single images.
Use these insights to refine your future posts — social media success is all about testing and adapting.
Final Thoughts
Beautiful real estate photos are more than just listing material — they’re marketing assets. When used strategically on social media, they can build your brand, generate leads, and showcase your professionalism.
Whether you’re a real estate agent looking to stand out or a photographer helping properties shine, remember: the image gets attention — but the story sells.